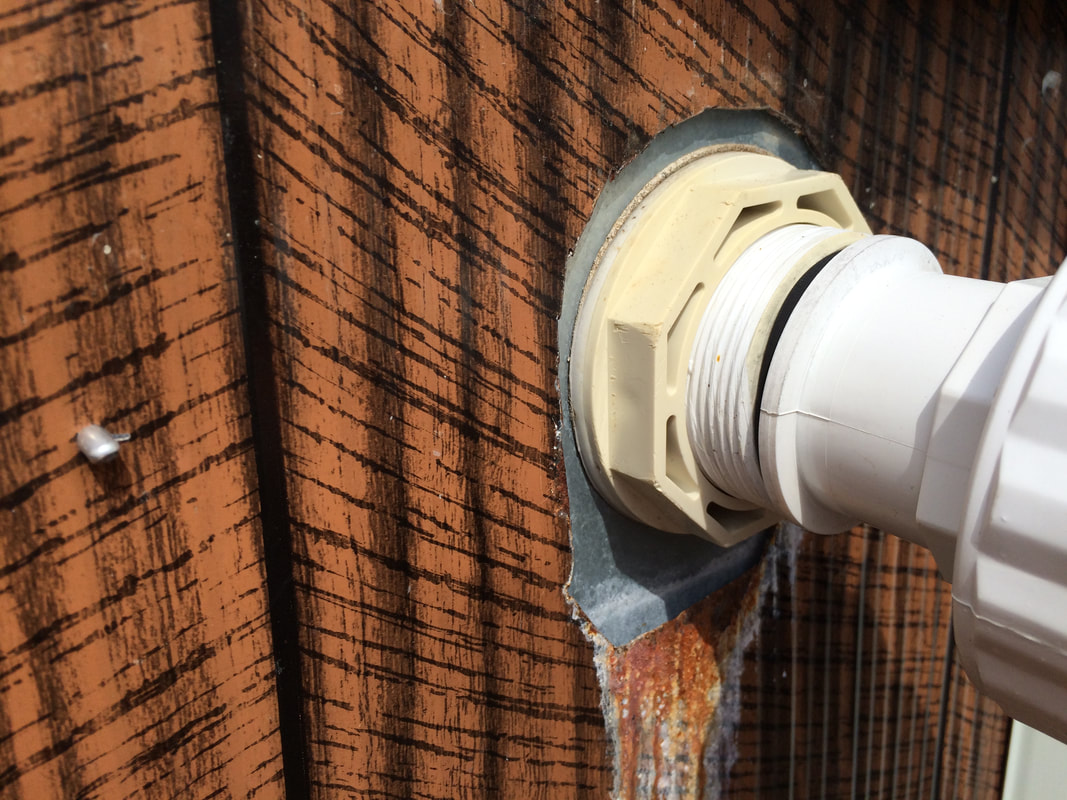
Our repair panels fit either inside or outside the pool. Only cut away enough old pool wall to guarantee that the gaskets on either side contact only the repair panel, otherwise you will have a leak. When cutting metal, remember to use appropriate personal safety equipment, including gloves and safety glasses.
-Drain pool water to about 4" below the bottom edge of where your assembled repair panel would be located
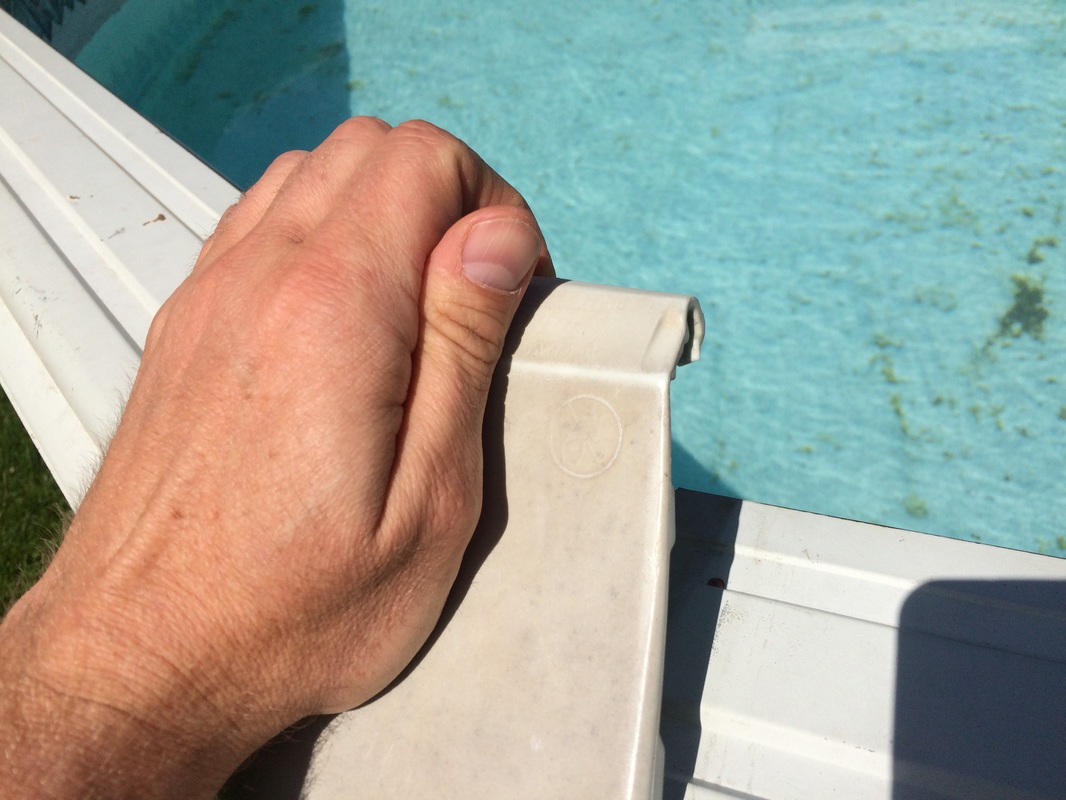
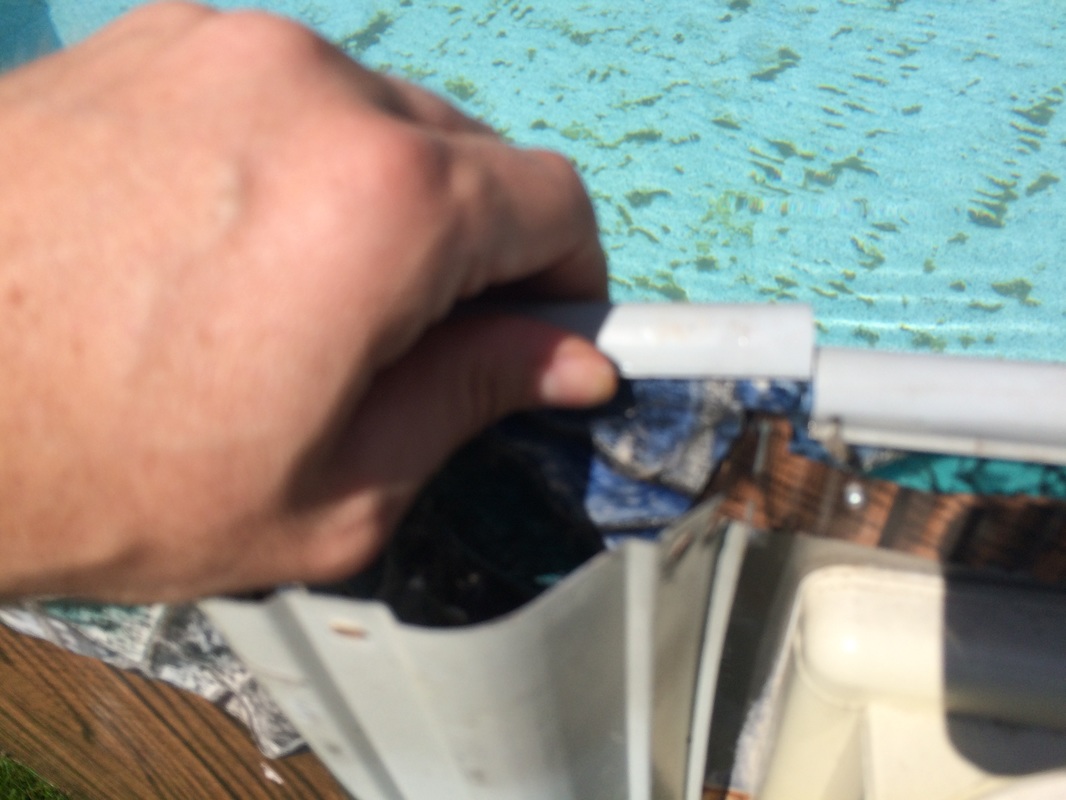
-Remove the plastic caps between the top rail sections (some of these are attached with screws, others snap off)
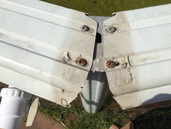
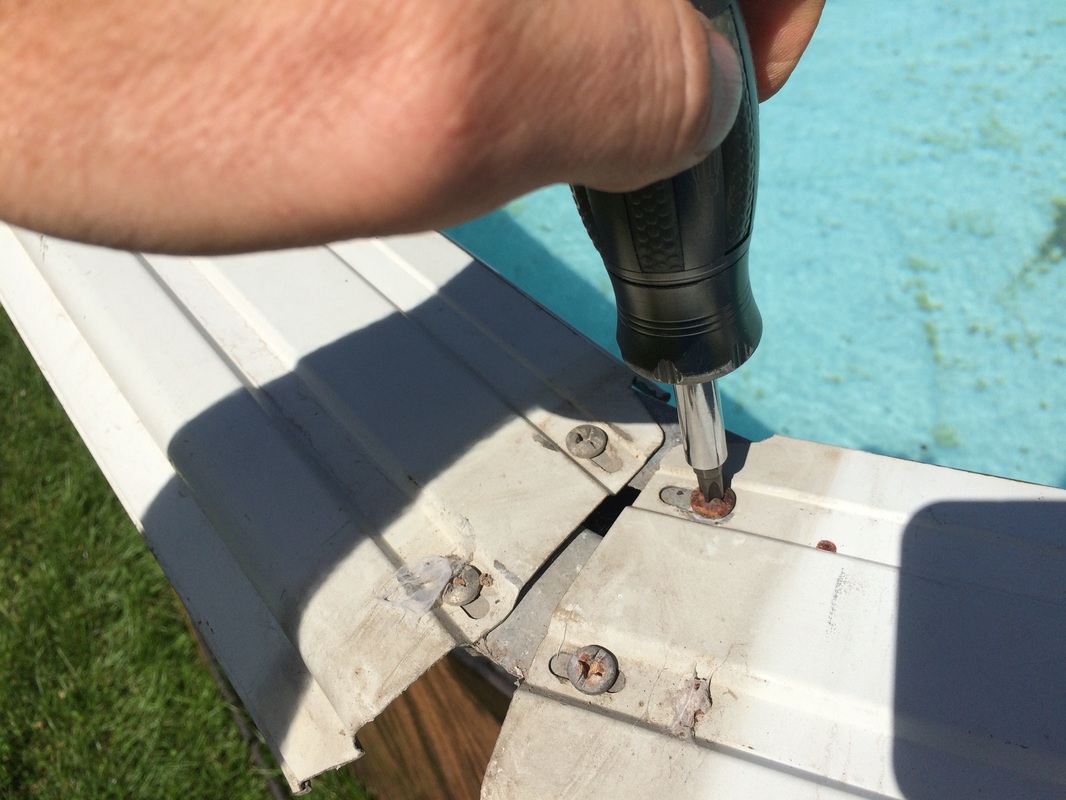
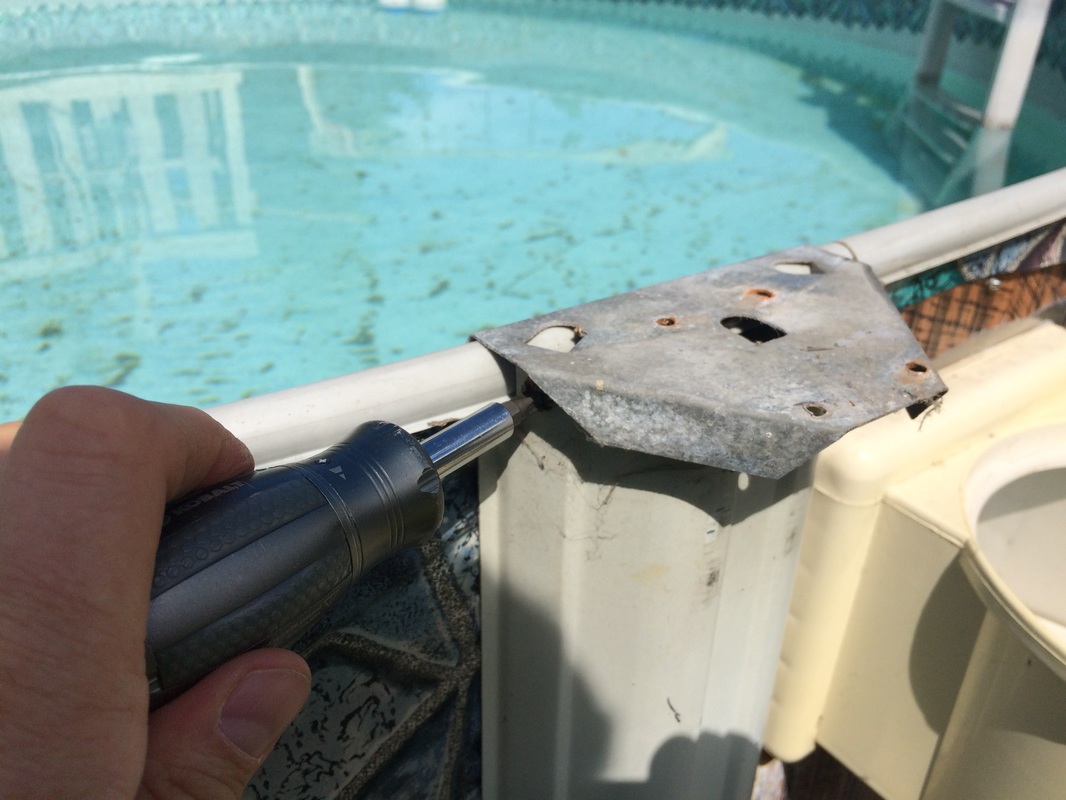
-Remove the screws holding the top rails (2 per end), then the top metal brackets
-Pull up to remove the plastic or metal strip that holds the overlap liner. If the pool has a J-channel liner, pull up to unhook the liner
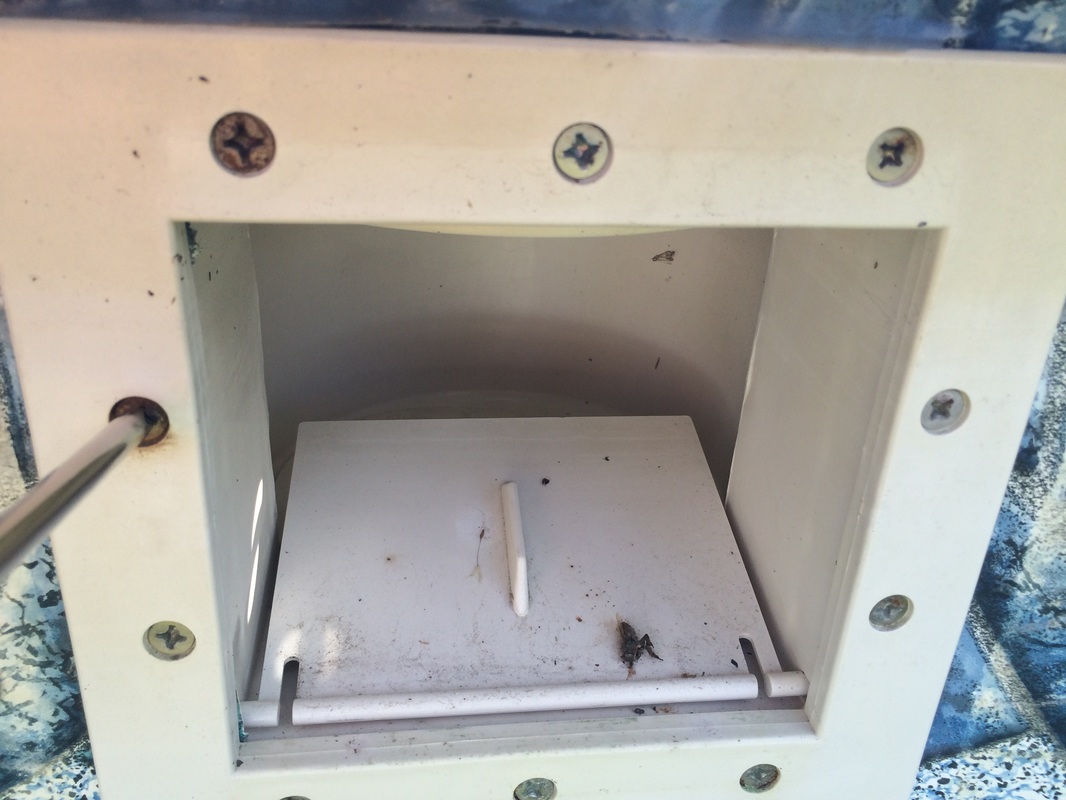
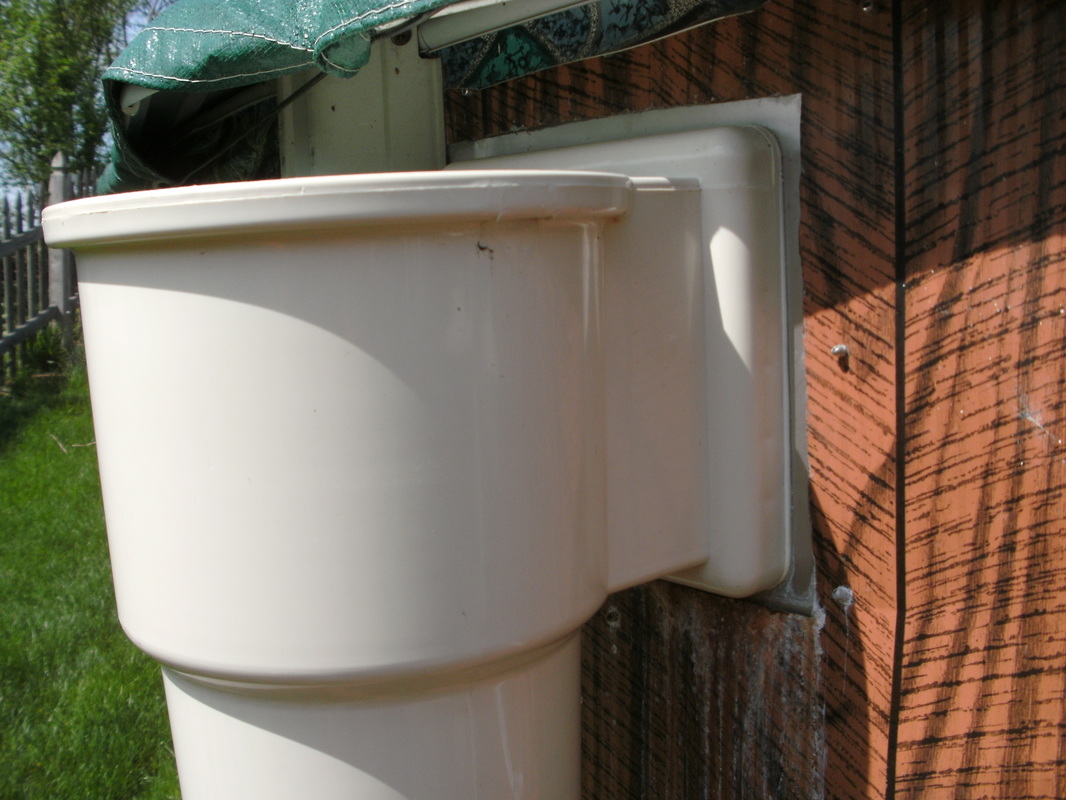
-Remove the skimmer & face plate by removing the screws on the faceplate (inside of the pool)
-If repairing the water outlet, remove by unscrewing the assembly
-Pull back the liner from the wall for access
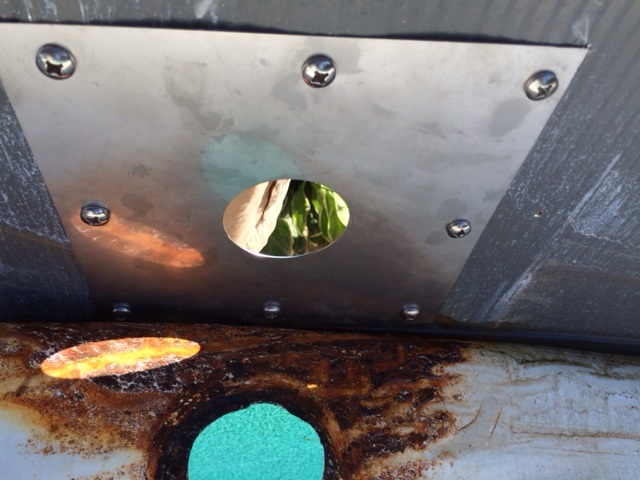
-Line up the repair panel on the inside of your pool with the existing skimmer (or outlet) opening in the liner
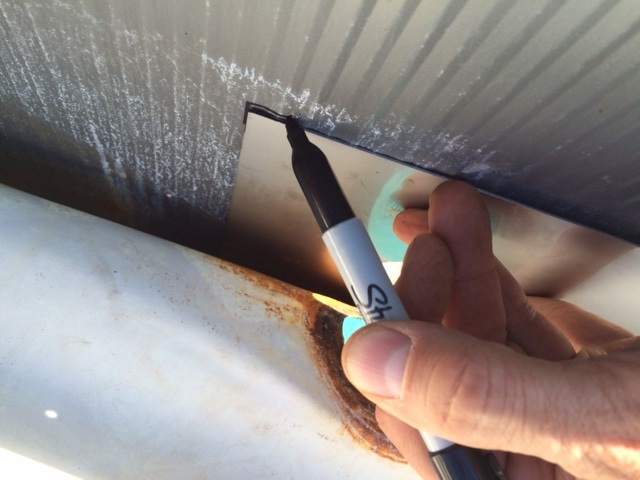
-Mark the hole locations and edges of the repair panel onto the pool wall
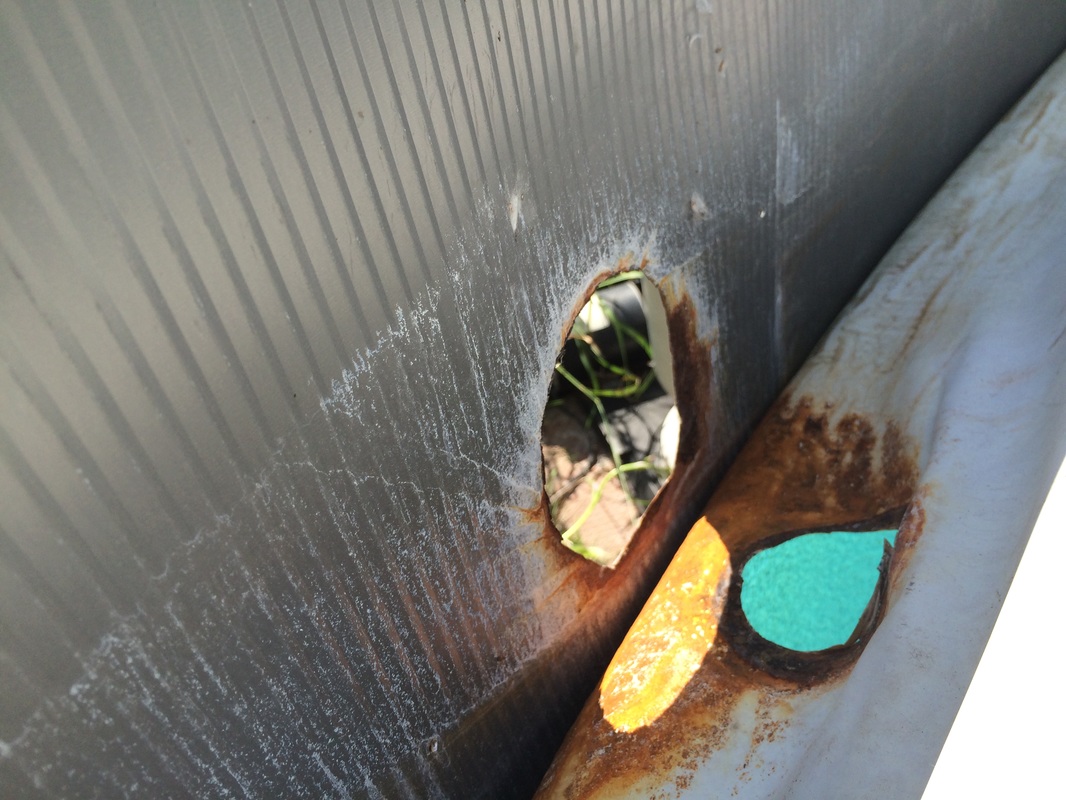
-Cut away the rusted wall section (tin snips or Dremel-type rotary tool) to allow sealing of the skimmer gaskets on the face of the repair panel only (no overlap with the old pool wall)
-Drill thru your pool wall (drill from inside your pool towards the outside to avoid drilling into your liner); masking tape under your drilled hole helps collect metal chips
-Assemble one corner of the panel with a machine screw, washer and nut, then the opposite corner.
-Continue to drill and assemble fasteners around the perimeter of the panel
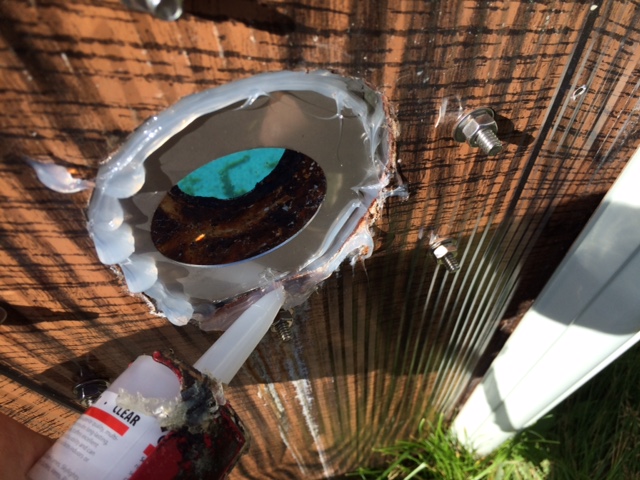
-Reassemble the liner, strips, brackets, top pool rails, and skimmer - 100% silicone caulk helps to prevent leaks (use it on both faces of each gasket and in all the face plate holes before assembling the skimmer screws)
-Apply a bead of caulk between the panel and the old pool wall to prevent any future drips from getting between your pool wall and the repair panel.
If this seems beyond your ability, contact your local pool service company and ask them to install our panel.
Don't settle for a repair with galvanized steel - you'll just have to do it again!
Don't settle for a repair with galvanized steel - you'll just have to do it again!

